

Roman Kamushken
TL;DR
- A button triggers an action in place. A link moves you to another page. Keep the two roles apart.
- One primary button per section, everything else is secondary or tertiary.
- WCAG 2.2 sets a 24×24 px minimum target, 44×44 on touch.
- Focus-visible is mandatory, and button text contrast starts at 4.5:1.
- Every button needs the full state set: idle, hover, focus, active, loading, disabled.
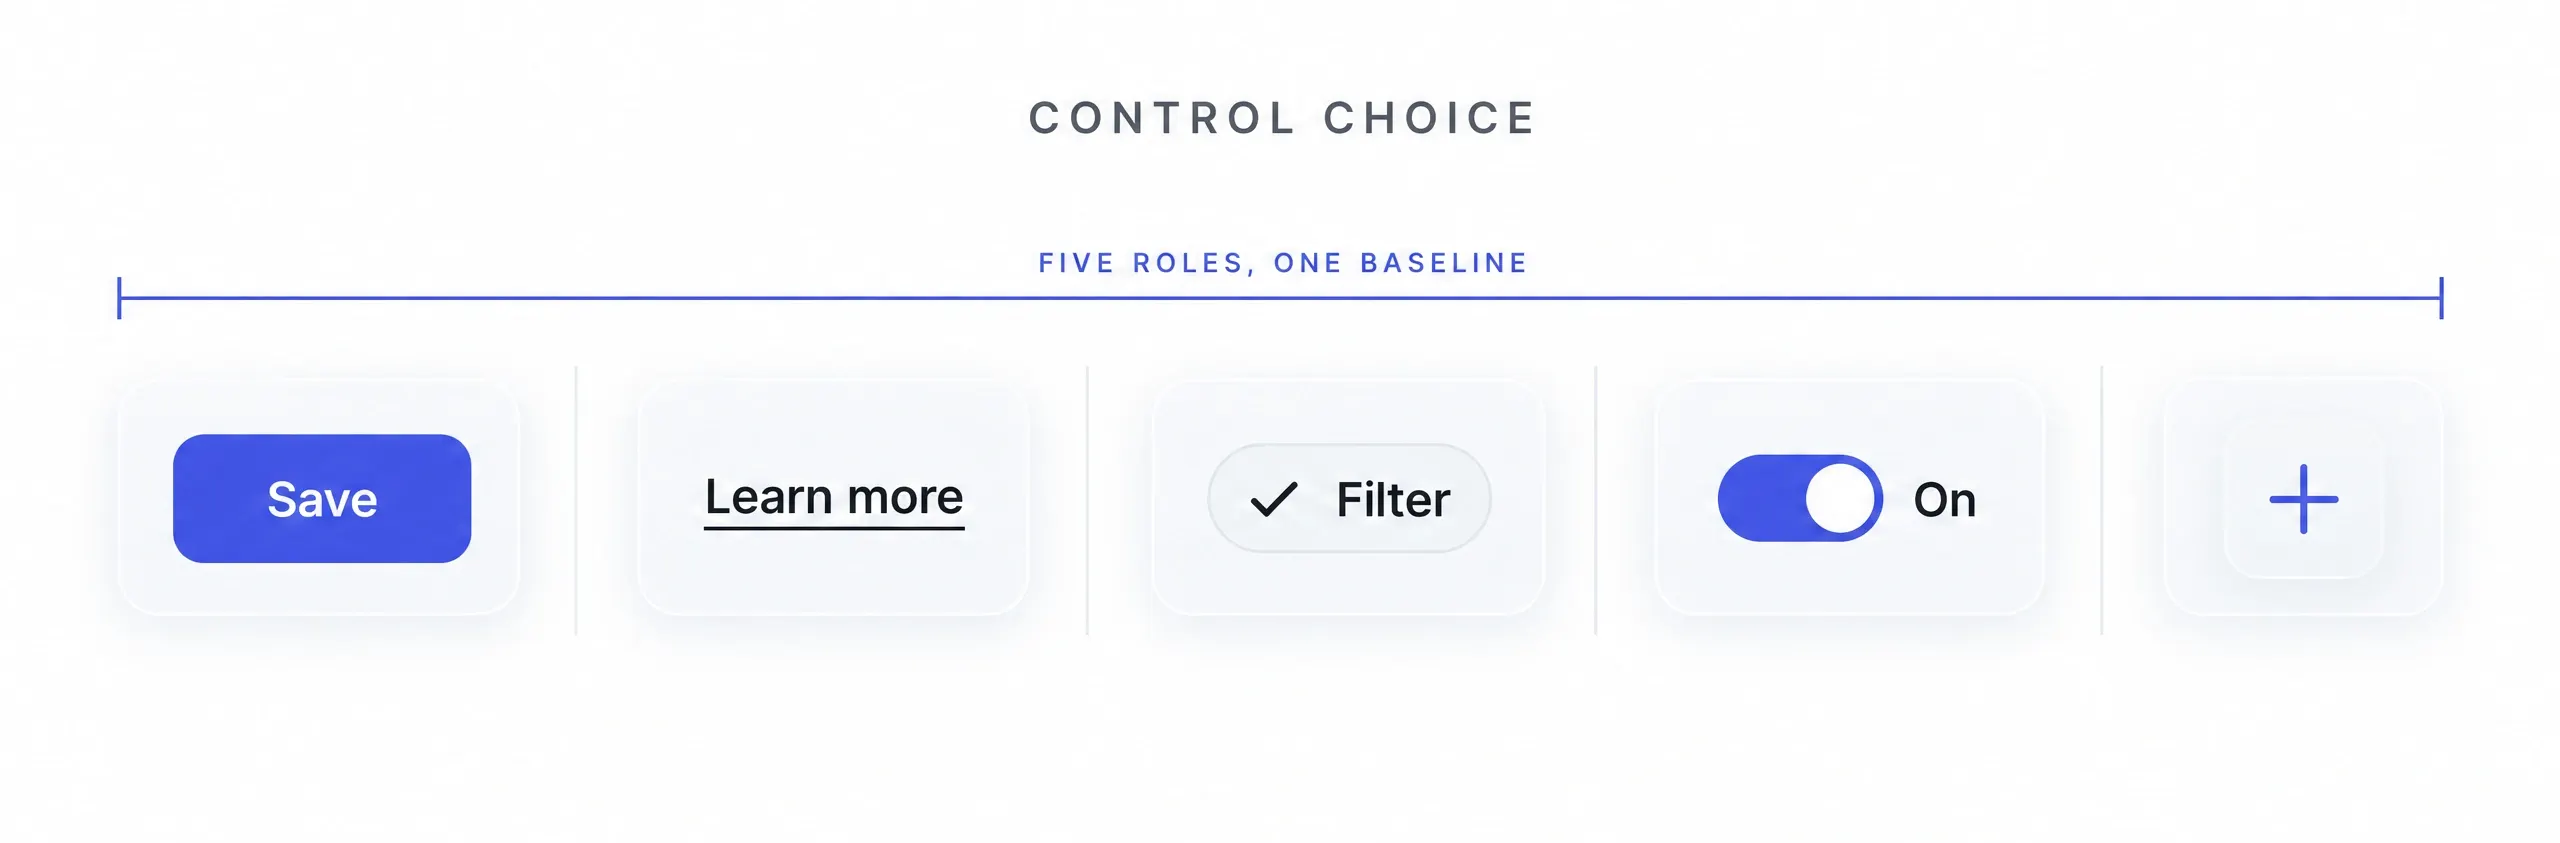
Button vs link vs chip vs icon button
The fastest way to get buttons right is to pick the correct control first. A button and a link look similar but behave differently, and mixing them up is the most common source of broken UI.
| Control | When to use it | When not to use it |
|---|---|---|
| Button | Action in place: submit, save, open a modal | Navigation to another URL |
| Link | Move to a page or an anchor | Trigger an action without navigation |
| Chip | Pick from a set or apply a filter | The main action of a form |
| Toggle | Switch one setting on or off | Picking from several options |
| Icon button | A familiar action with no room for a label | An action that is unclear without a name |
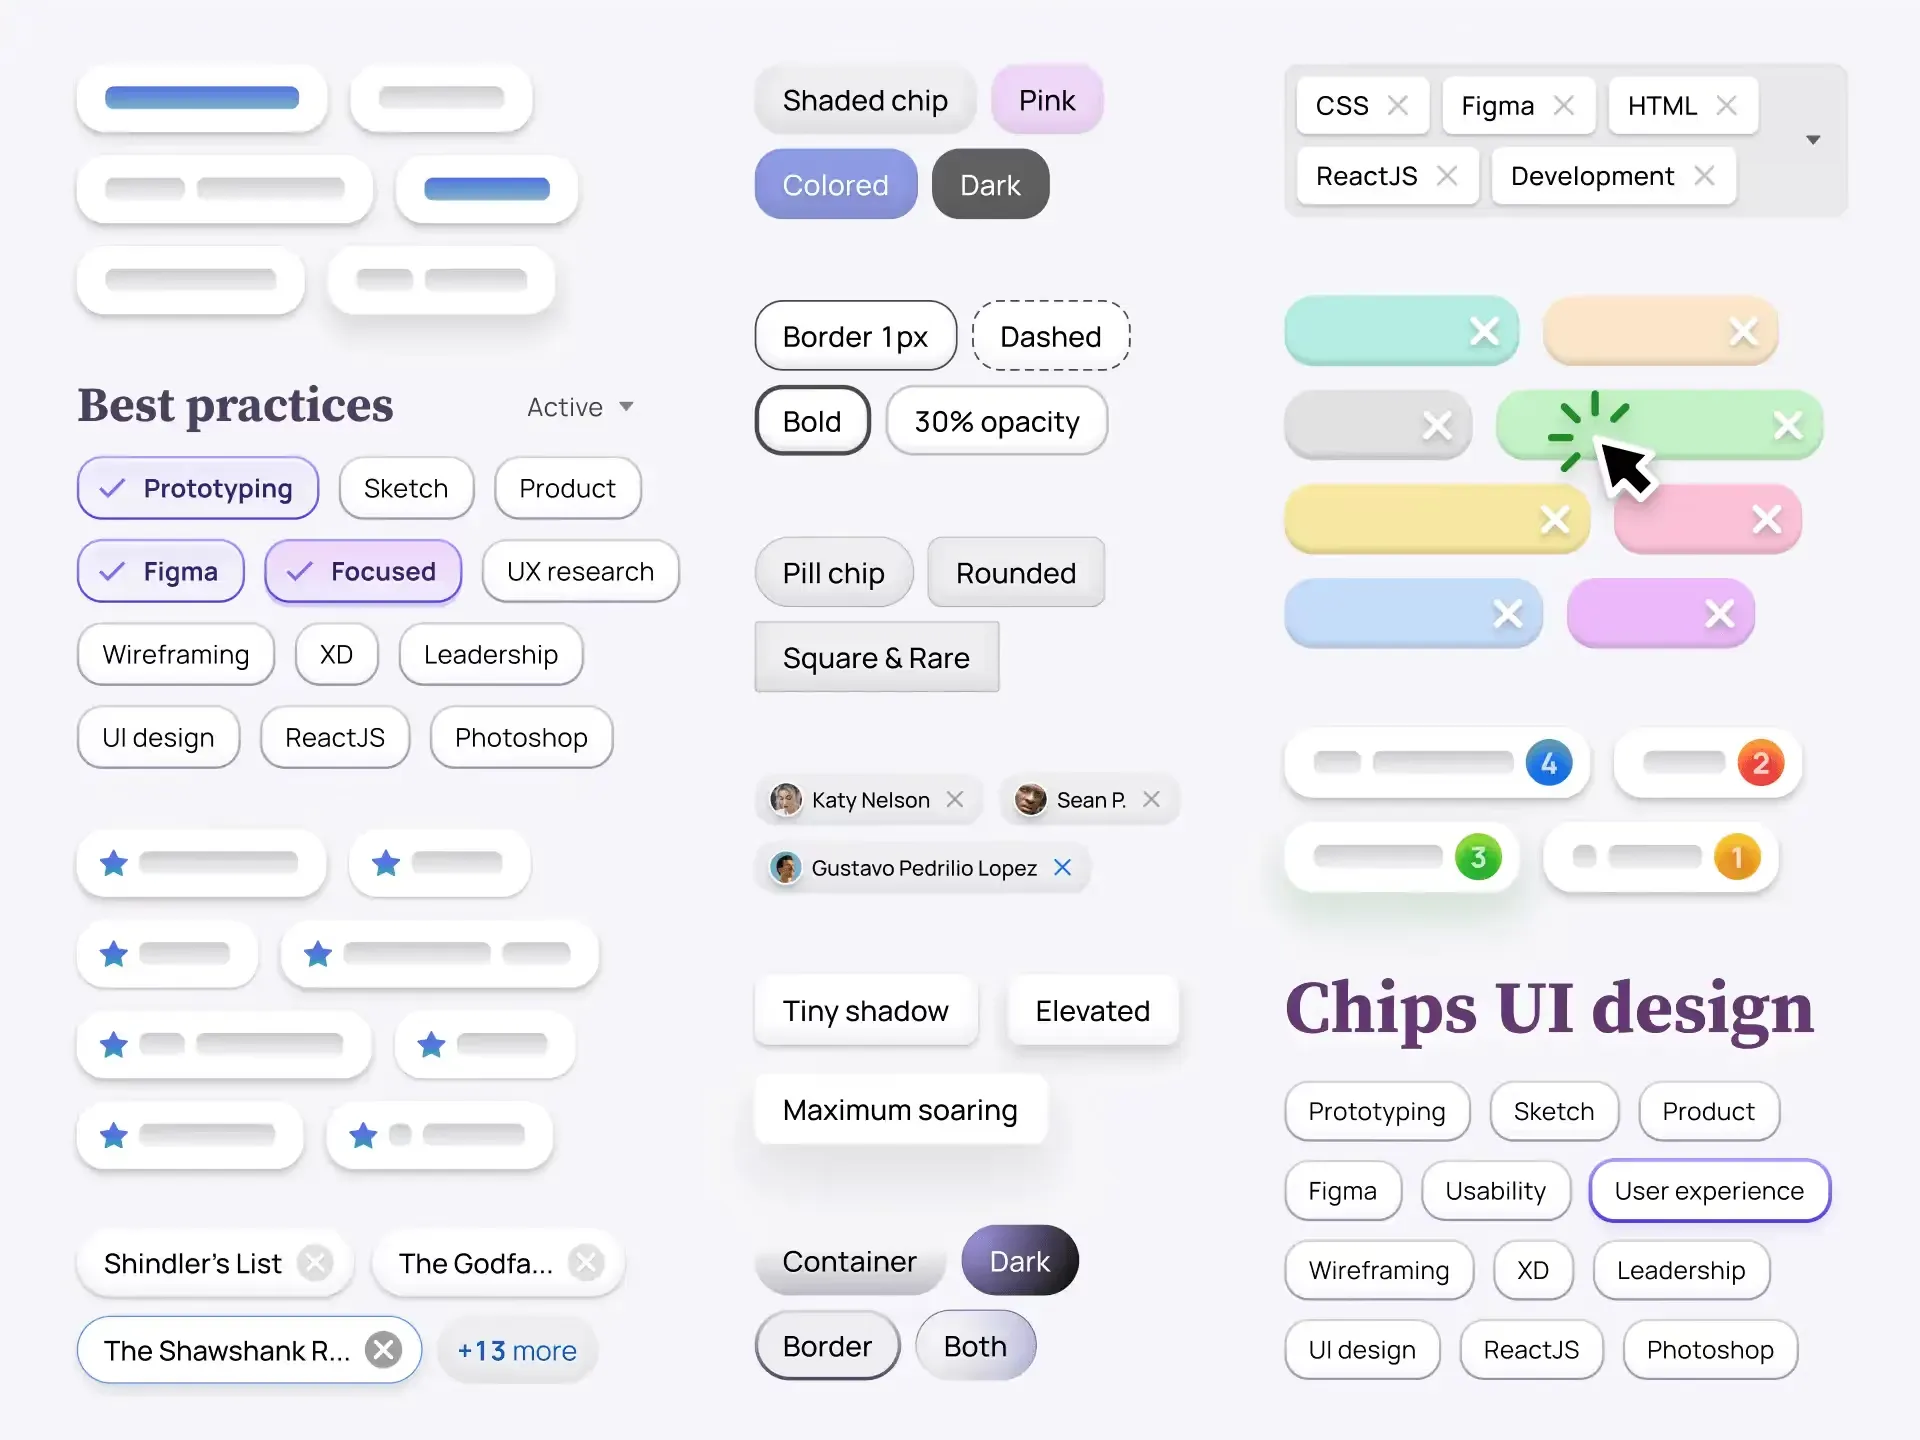
The chip UI design guide covers selection patterns, and the button group guide covers grouped actions. Chips and toggle switches are the controls most often confused with buttons, so check the label before you pick the element.
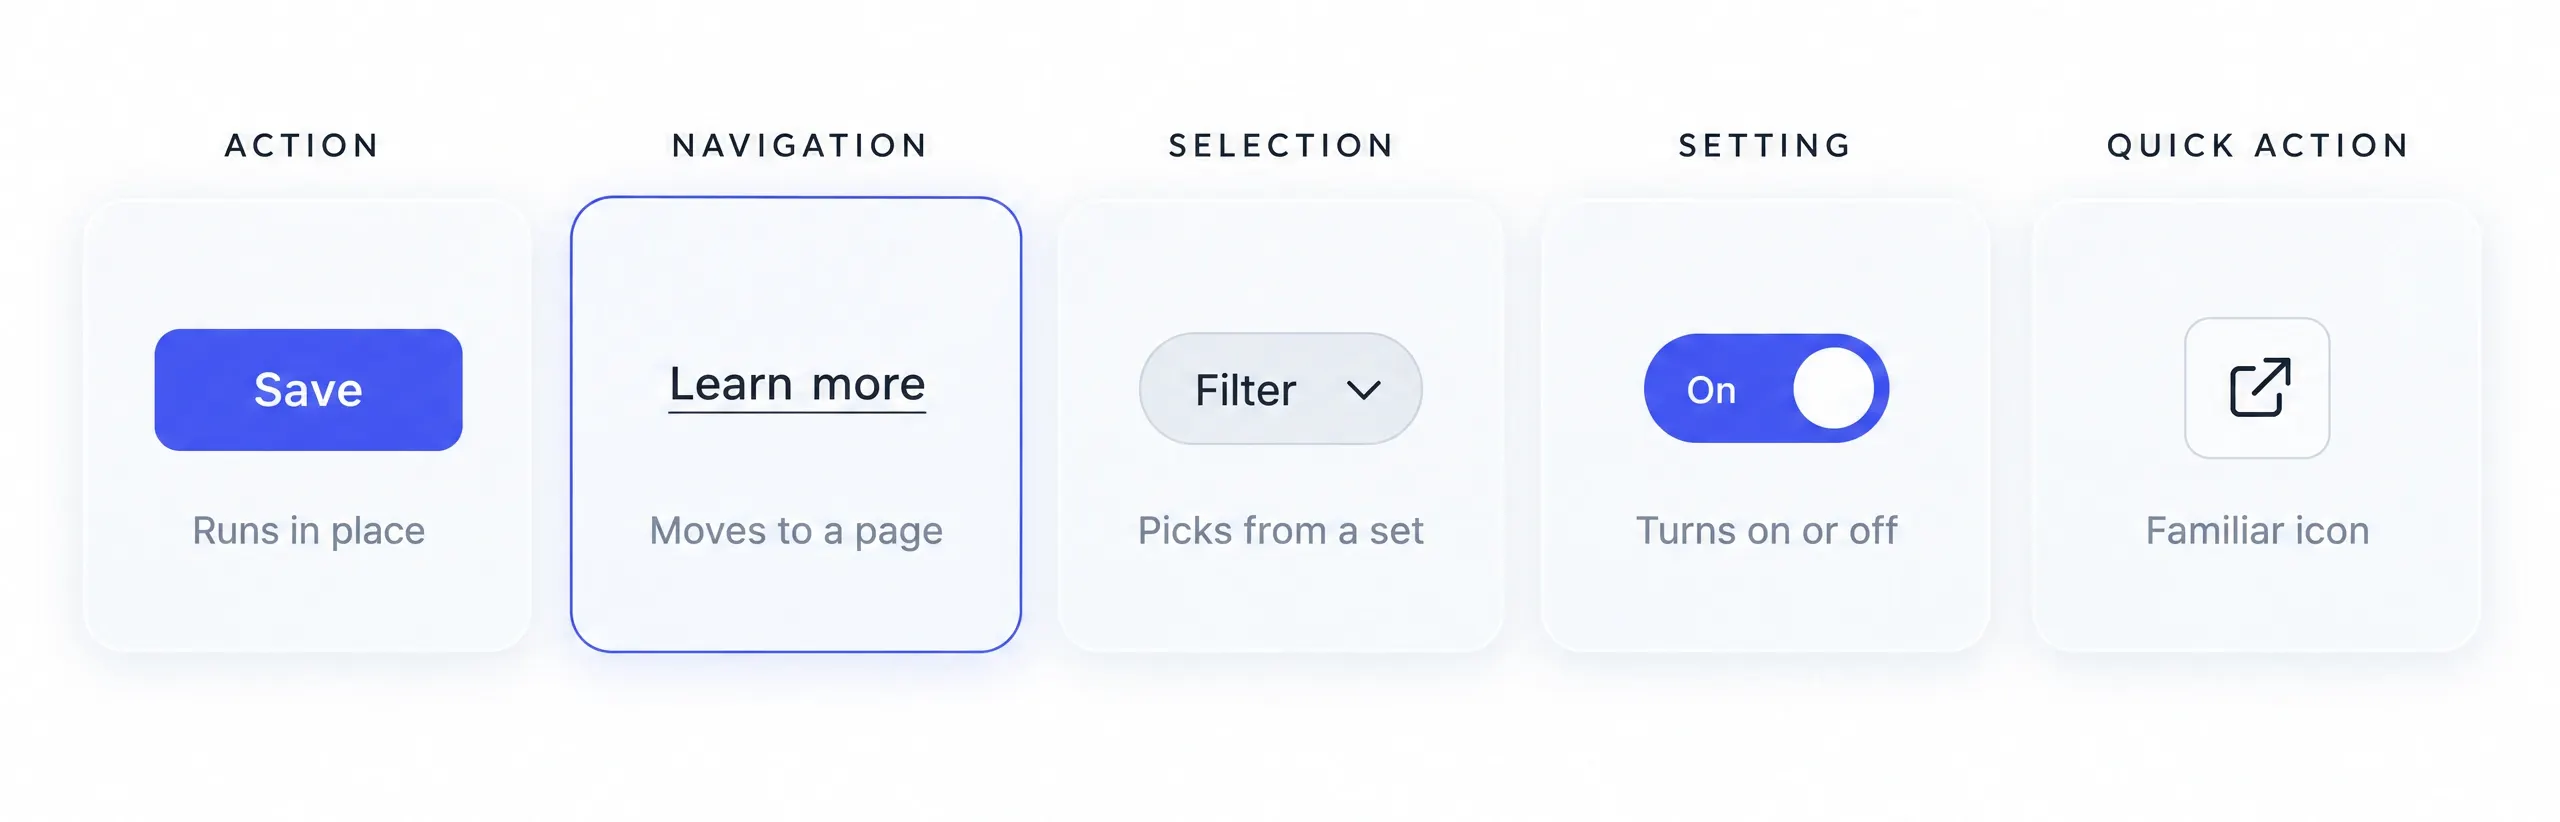
Buttons anatomy
A button is a container with a label and, sometimes, an icon. The states are what make it feel alive, and they tell the user what a button is doing right now. Visual cues let people read the purpose and status of a control at a glance, then act.
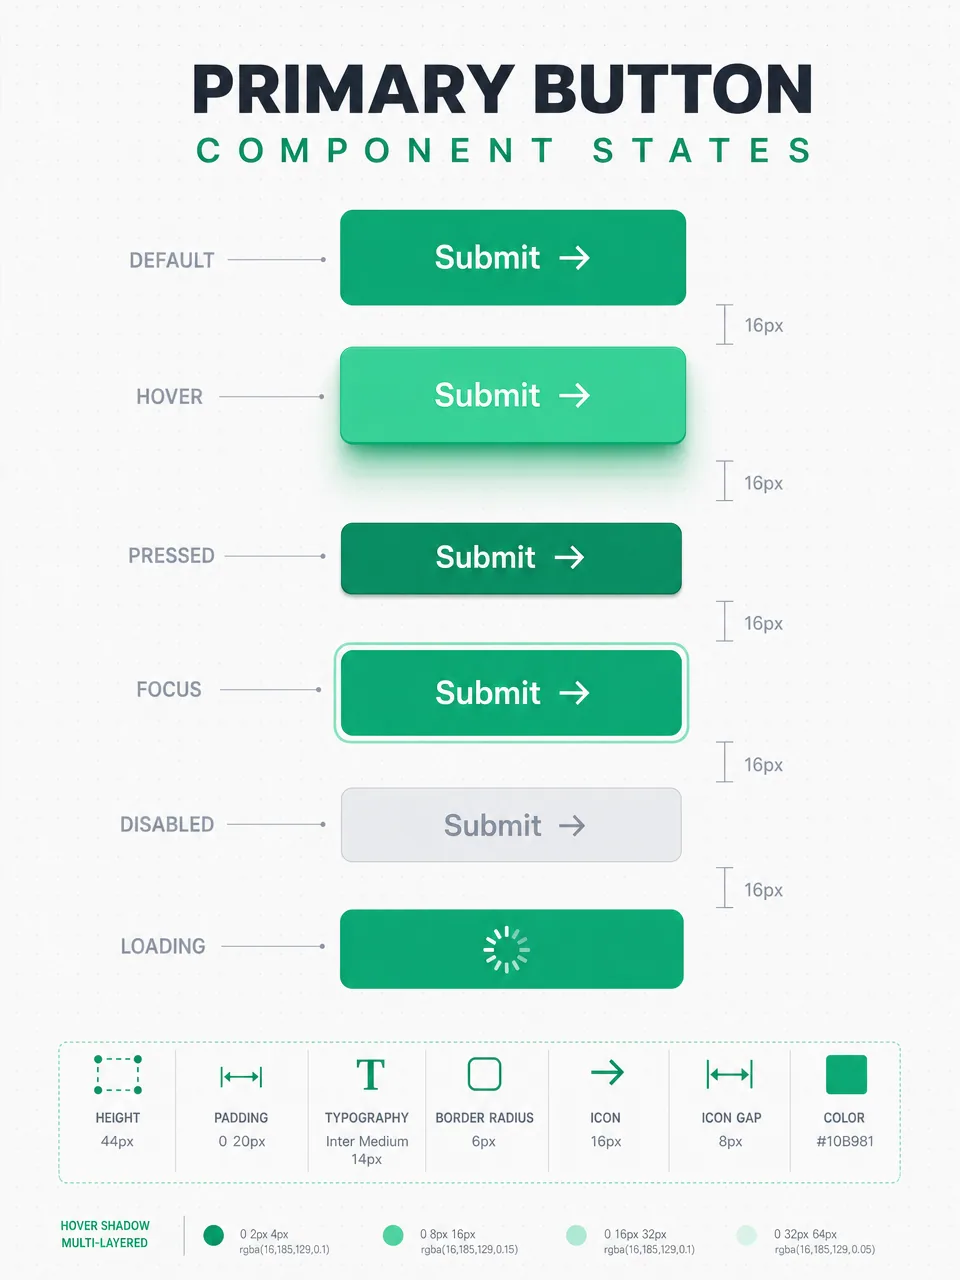
❶ Default. The idle state. Normal appearance, ready to start an action.
❷ Hover. Fires when the cursor moves over the button. Usually a different background, to signal the control is interactive.
❸ Active. The pressed look while the user interacts with it. The button turns brighter or darker to make the press obvious.
❹ Focused. A keyboard or click focus shows a bold outline around the control, so the active element is clear.
❺ Disabled. The button is unavailable. A shaded look and no click response.
❻ Loading. The button is processing an action, shown with a spinner so the user knows to wait.
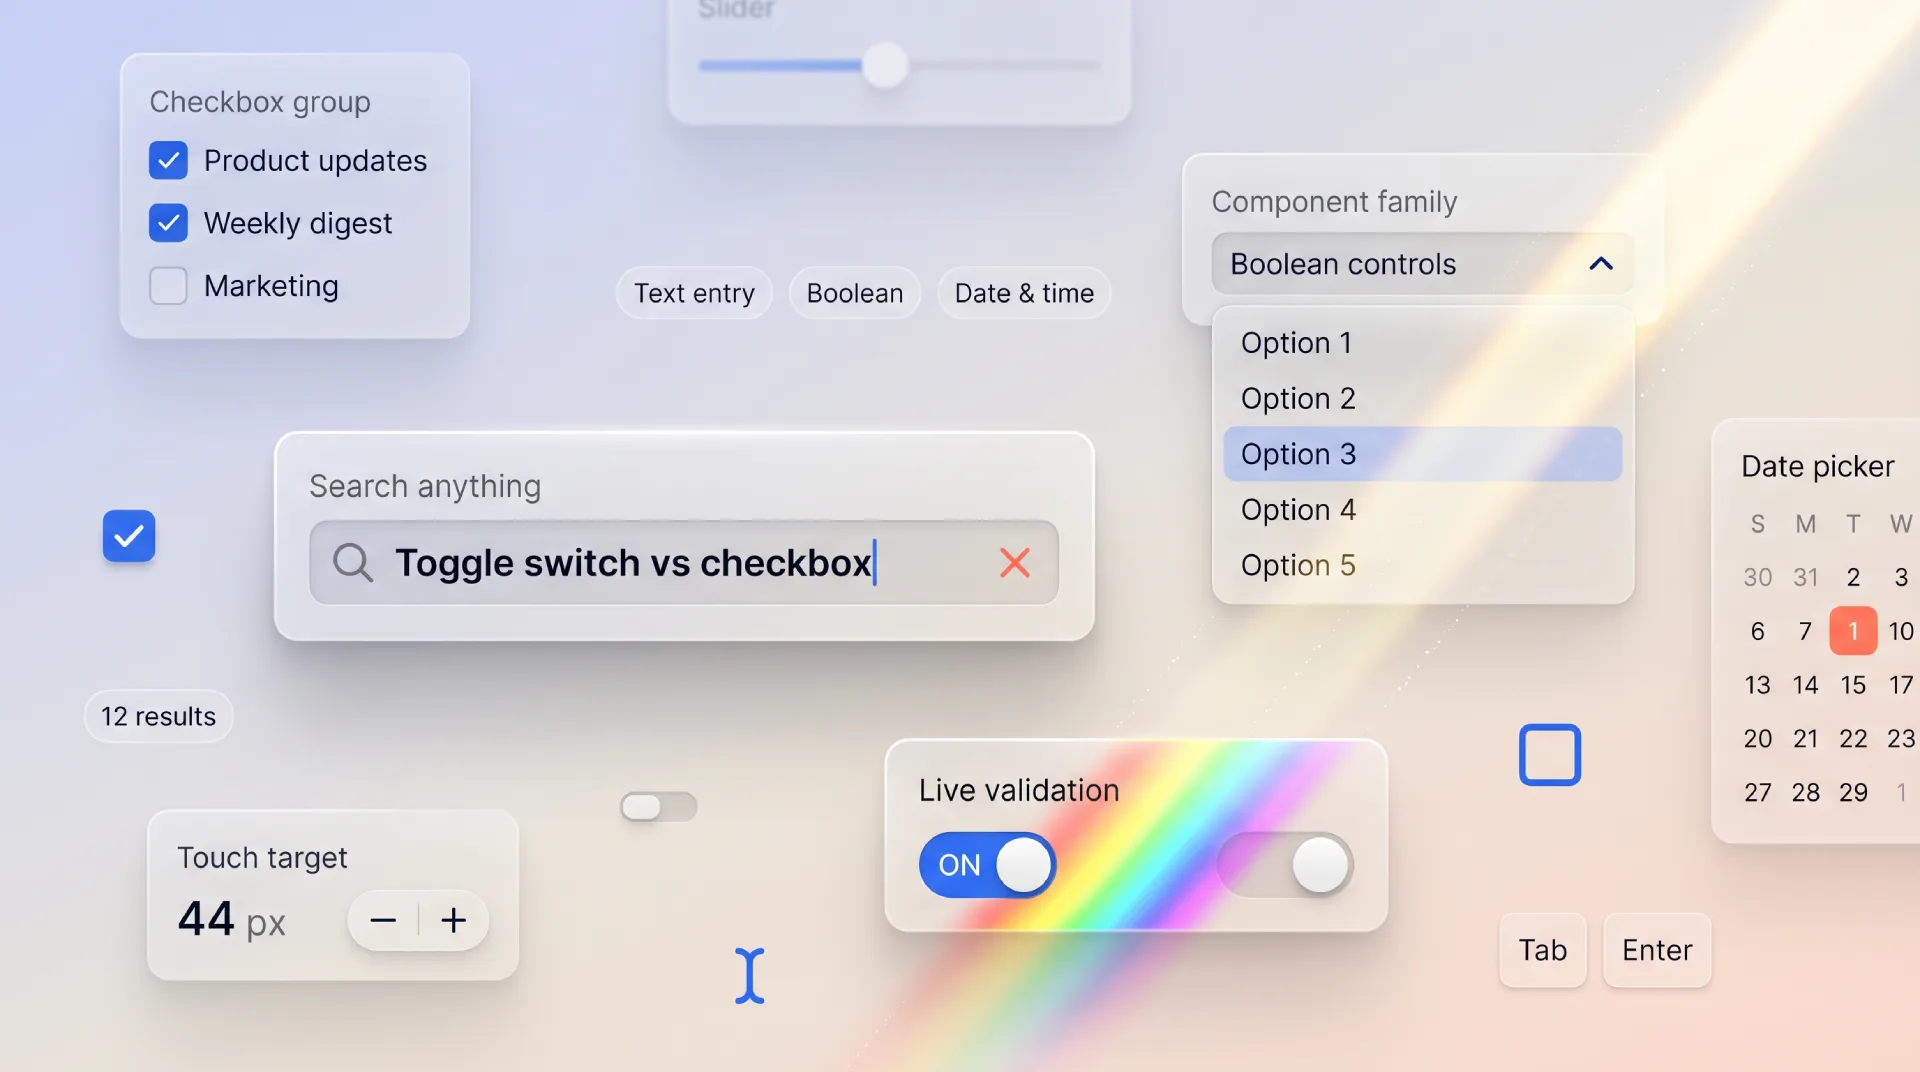
States matter most inside forms, where a button sits next to other controls. The form controls reference maps how buttons behave alongside inputs and checkboxes.
Types of buttons
Buttons fall into four visual types, and the type signals how important the action is.
- Text or link button. No fill or border, just a label. Use it for quiet actions like Cancel or Done.
- Contained or filled button. A solid background. Use it for the one main action on a screen, such as Save or Submit.
- Outlined or ghost button. A border with a transparent fill. Use it for a secondary action next to a filled one.
- Shaded or tinted button. A half-transparent overlay. Use it for a low-priority action that sits beside a contained button.
Button shadows

Live buttons from the Figma React UI kit
Adding a shadow to a button when designing an app helps to create visual hierarchy and focus. It is a way to make the element stand out from the rest of the elements on the page and draw the user's attention.
In Material Design, shadows are used to indicate the elevation levels of the different components. Higher button elevation levels mean a stronger shadow, while lower elevation levels have a weaker shadow. This helps to indicate which element is the most important one.
Icon usage
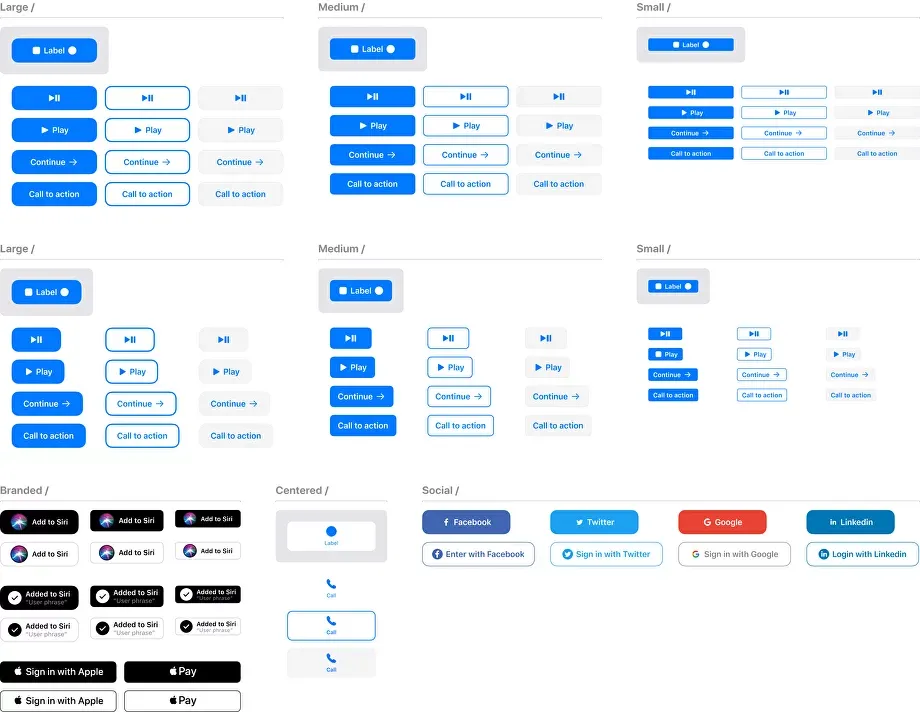
Variants of native iOS buttons. Made with Figma iOS kit
Icons inside buttons communicate what action the element will take. They help users see what a click will do.
For instance: left icons are typically used to indicate a "back" or "previous" action, while right icons are utilized for moving "forward" or "next".
Icons can indicate a change in state when a button is clicked. For example, a "play/pause" icon demonstrates whether a video is in play or paused mode. Or the icon can change to a checkbox to reflect completion.
Icon button
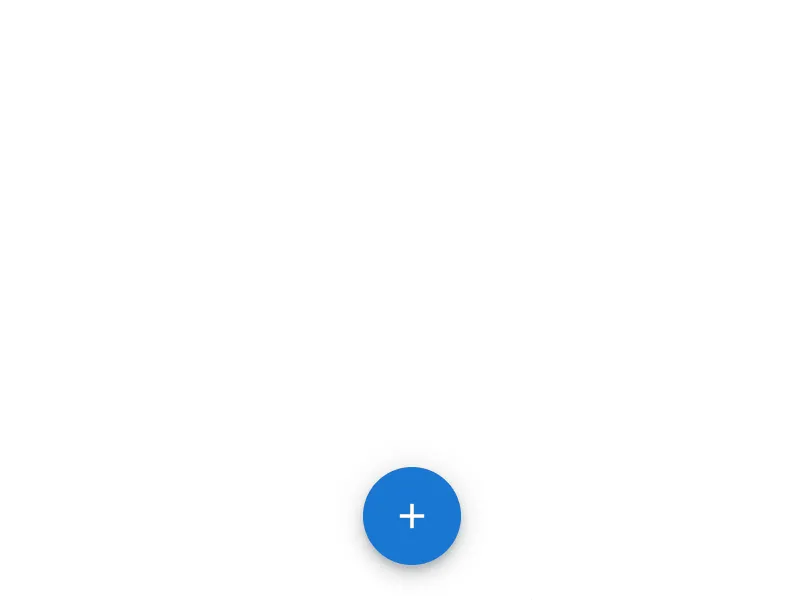
The purpose of using buttons with only an icon is to provide an easily accessible way to trigger a common and distinct in-app flow. For example, in Material Design, a Floating Action Button (FAB) is used to quickly initiate a primary action on a page.
FABs are typically a circle or square that is placed in a prominent location to make it stand out on the page. When clicked, it will typically trigger a frequent to use action such as creating a new item or initiating a new process, user flow, etc.

Round buttons & FABs extracted from Material-X UI kit
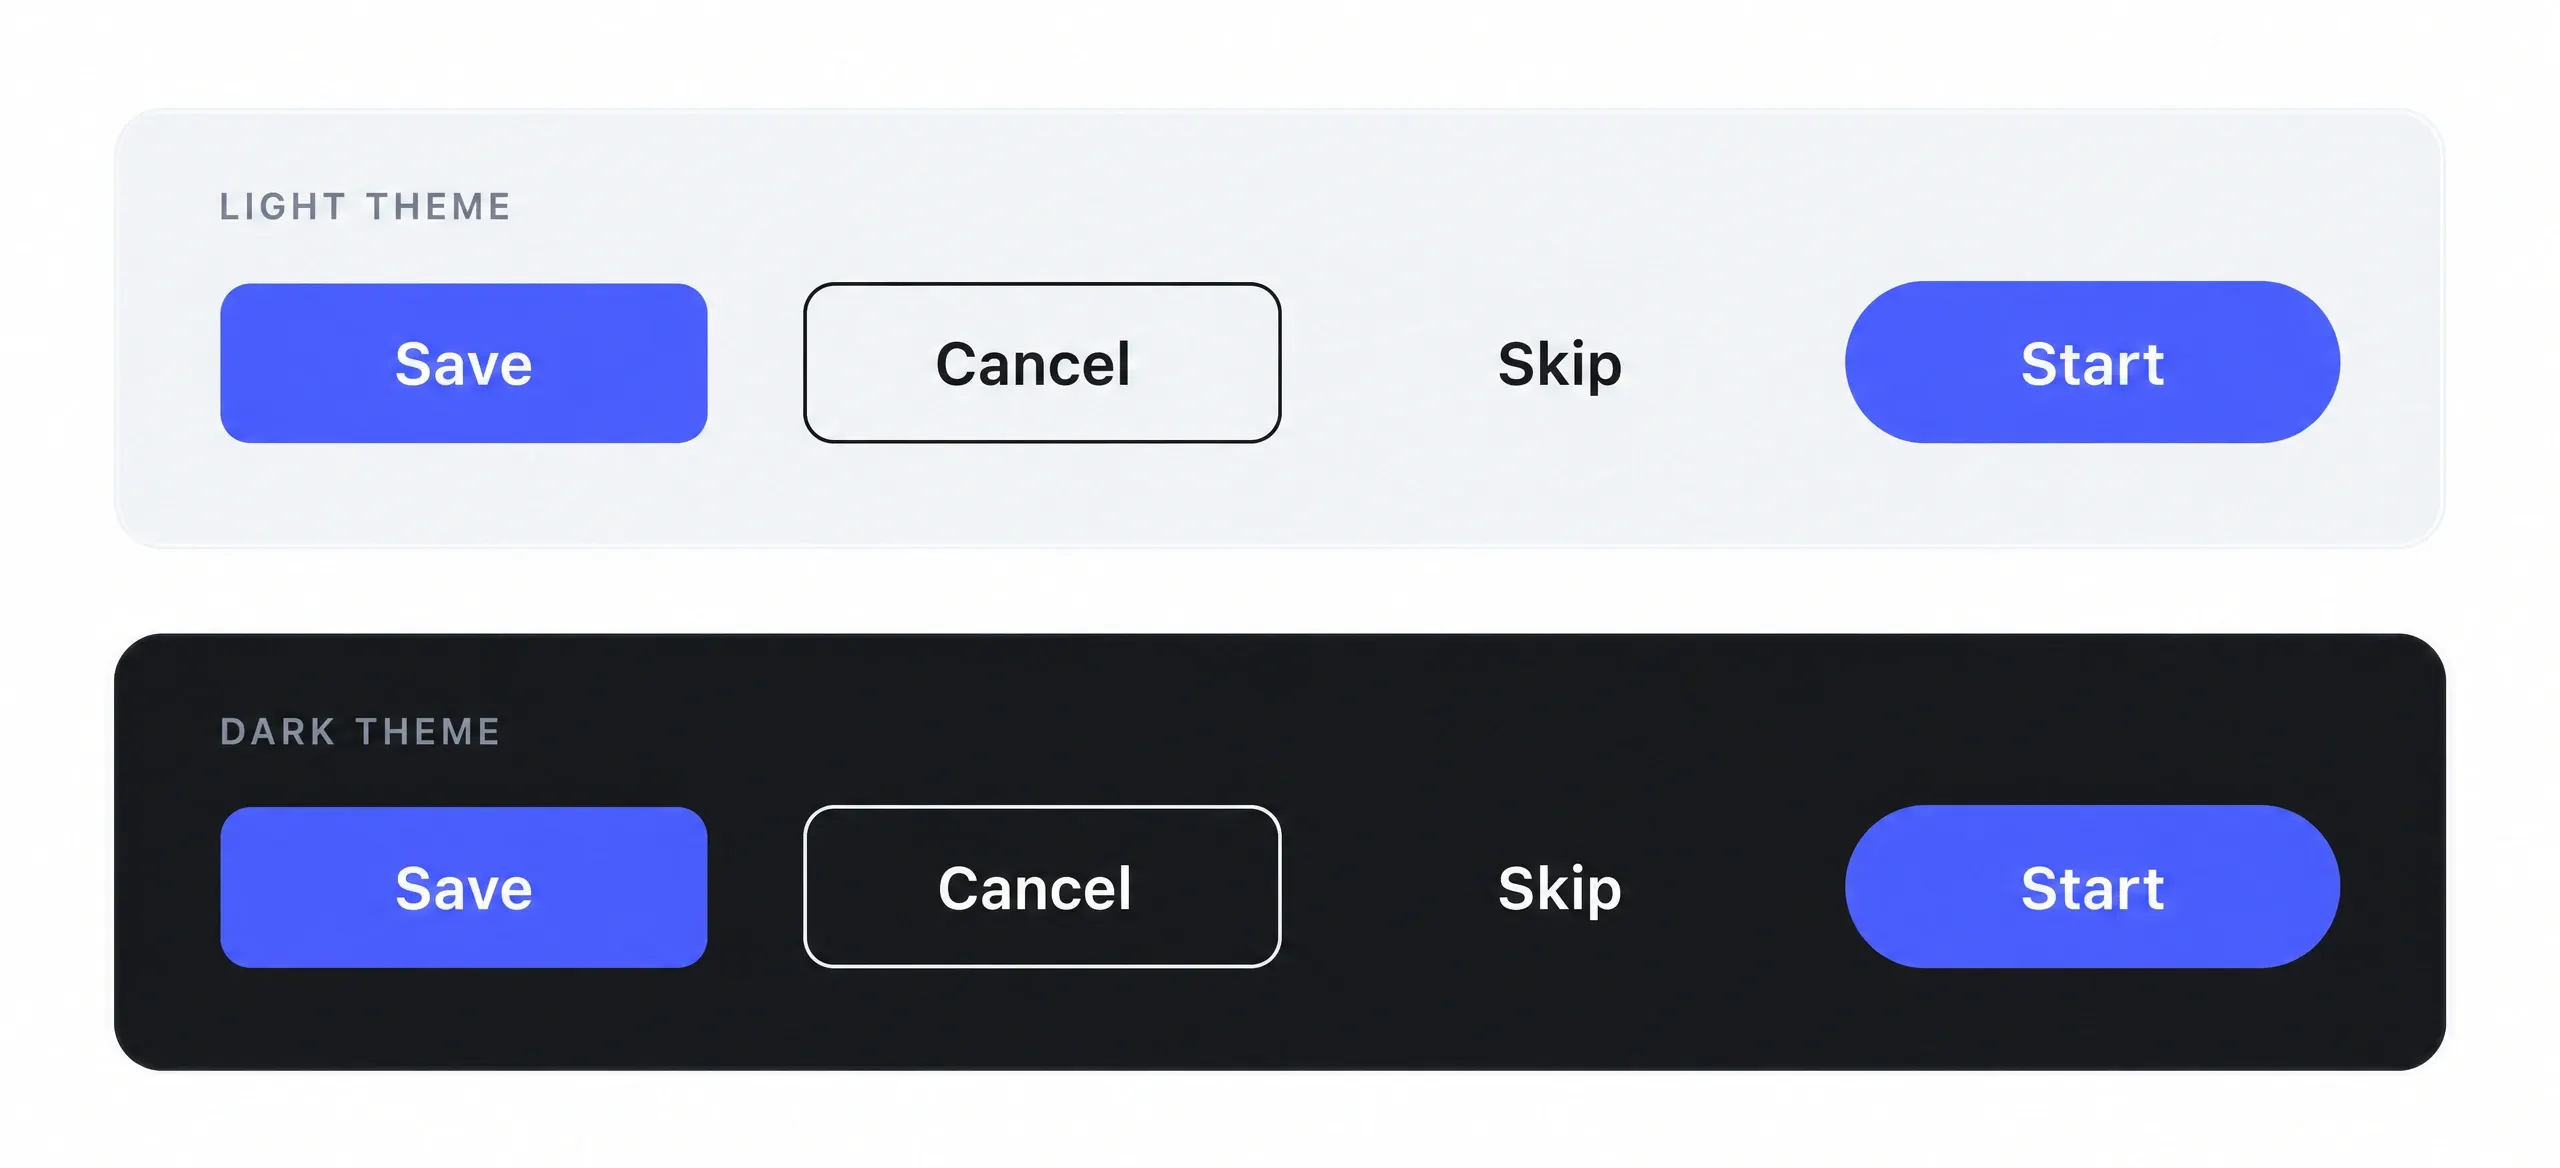
Buttons Theming
Styles
The four types above already split buttons by visual weight (see types of buttons). Theming decides how each one reads across light and dark mode.

Buttons types included in Figma React UI kit
Corner radius
The corner radius of a button in UI design affects the visual appearance of the element, as well as the user's perception of the interface. By varying a radius from 0px to 99px you can go from Square Button up to _Pill Button: _
-
0px radius will create a sharp, angular look that is more suitable for an enterprise interface. This will help create a clean, minimal design that is easy to perceive.
-
8px radius adds a bit of visual interest to the button and allows it to stand out from the other components. Thus, for users it's easier to find and interact with the button.
-
16px radius creates a more rounded, organic style that is softer and more welcoming. This is a great option for buttons that are intended for common actions.
-
99px+ radius creates a very rounded, circular look that is often used for buttons that are meant to be eye-catching. Such a Pill button highlights among the other UI bits and encourages users to interact.
Inner shadow
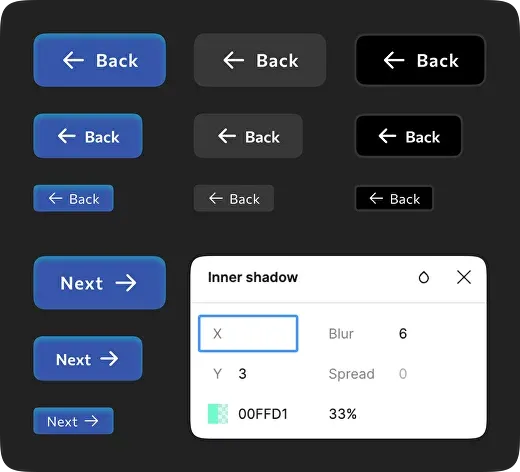
Cool buttons from Mobile-X UI kit
By adding a subtle inner shadow to a button, it can make the component appear to be more 3-dimensional and tactile. This can make the element more visually engaging and interactive to the user.
Inner shadow is a great way to add depth and dimension especially in dark themes, making the whole product experience smooth and enjoyable.
Such a visual trick embedded into a button provides a subtle visual cue to the user, indicating that this UI element is clickable.
Gradients
Gradients are often used to create visual continuity with important elements in the UI, providing cohesion. By adding a gradient to the button background, a designer can help create a sense of movement and direction in an app, maintain a visual cue to the user.
Used properly and consistently, gradients can help create a visually pleasing and branded theme for a button UI design.
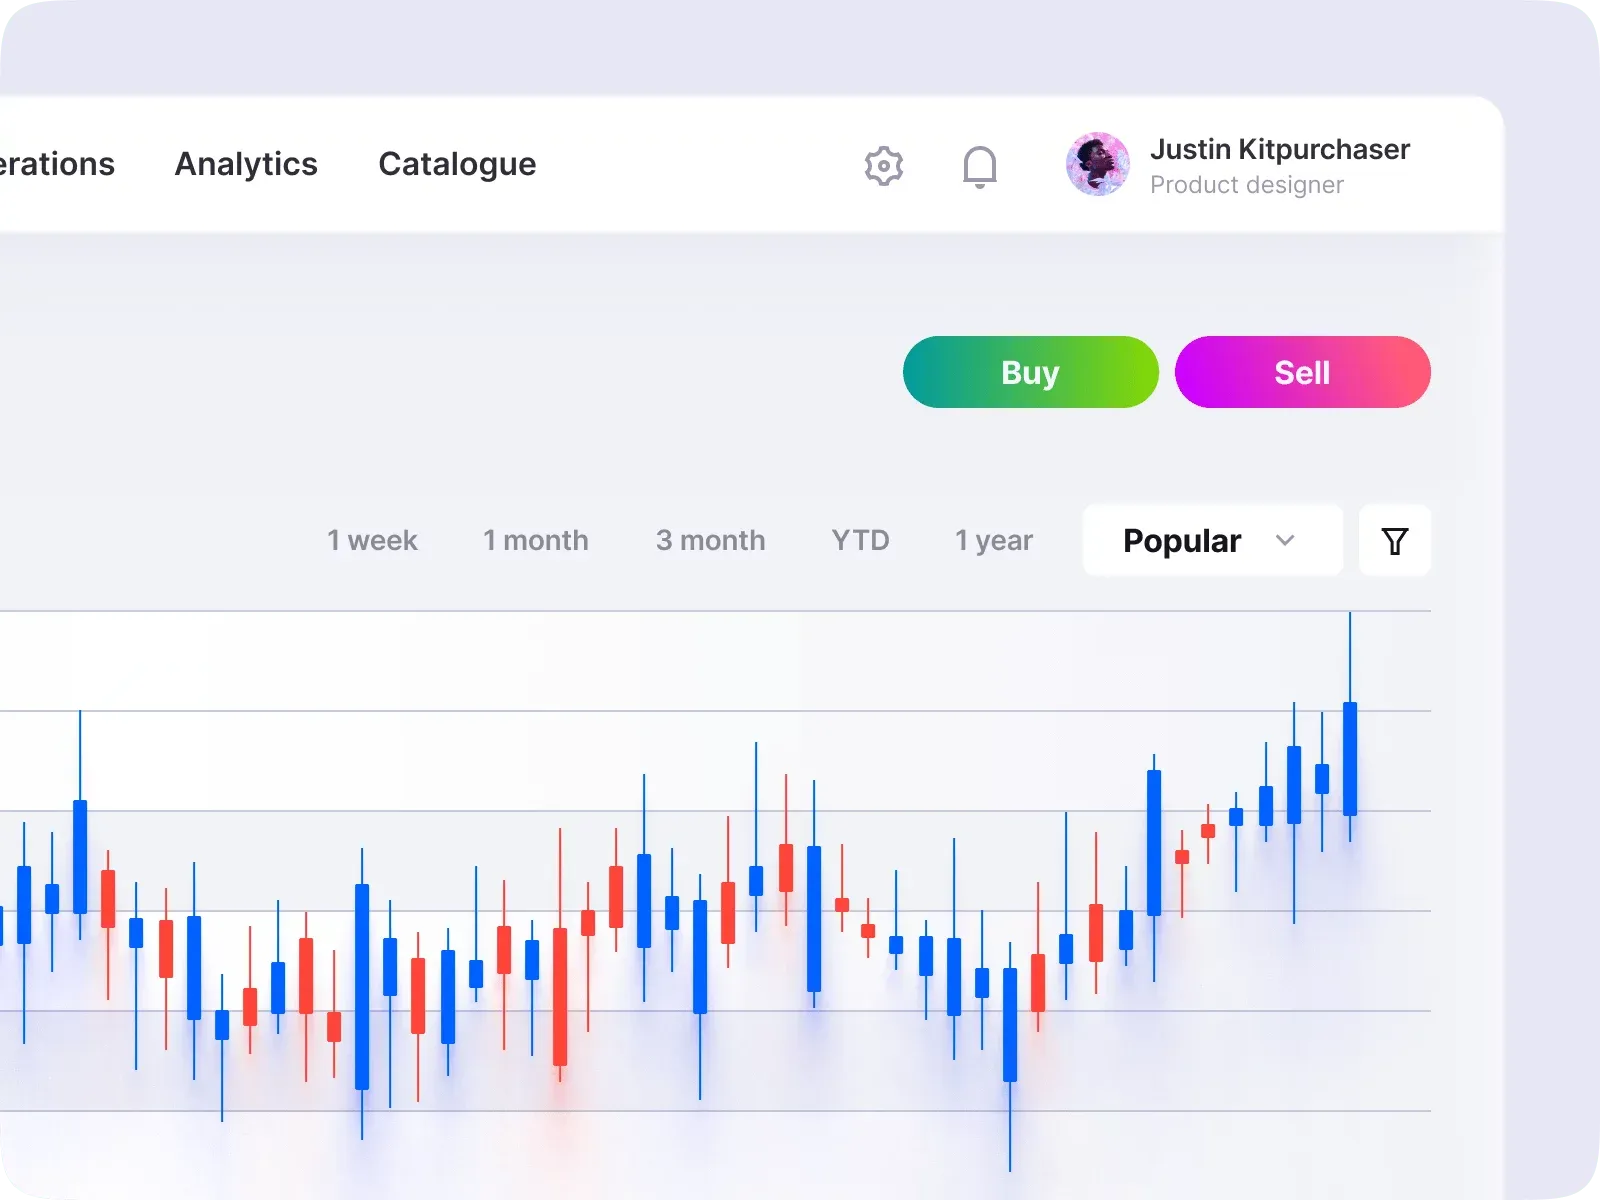
Trading template by Eclipse UI kit
Ready-made button sets ship inside the Figma React UI kit and Material X, if you would rather start from templates than from scratch. If you are defining these tokens from zero, the UI kit foundation guide shows how to structure them.
UX & Usability
Accessibility
A button must work for everyone, including people who navigate by keyboard or use a screen reader. The WCAG 2.2 guidelines set the baseline:
-
Target size (minimum) 2.5.8. Every button is at least 24×24 CSS px, and 44×44 on touch screens. Small icon buttons need a larger invisible hit area around the visible icon.
-
Focus visible 2.4.7 and 2.4.11. A keyboard focus ring stays visible on both light and dark backgrounds. Never remove the outline without a replacement.
-
Contrast 1.4.3. Button label contrast starts at 4.5:1 against the button background.
-
Name, role, value 4.1.2. Use a real
<button>element, not a<div onclick>. A screen reader then announces the control and its state. -
Disabled state. When a button must stay focusable for context, use
aria-disabledinstead of thedisabledattribute.
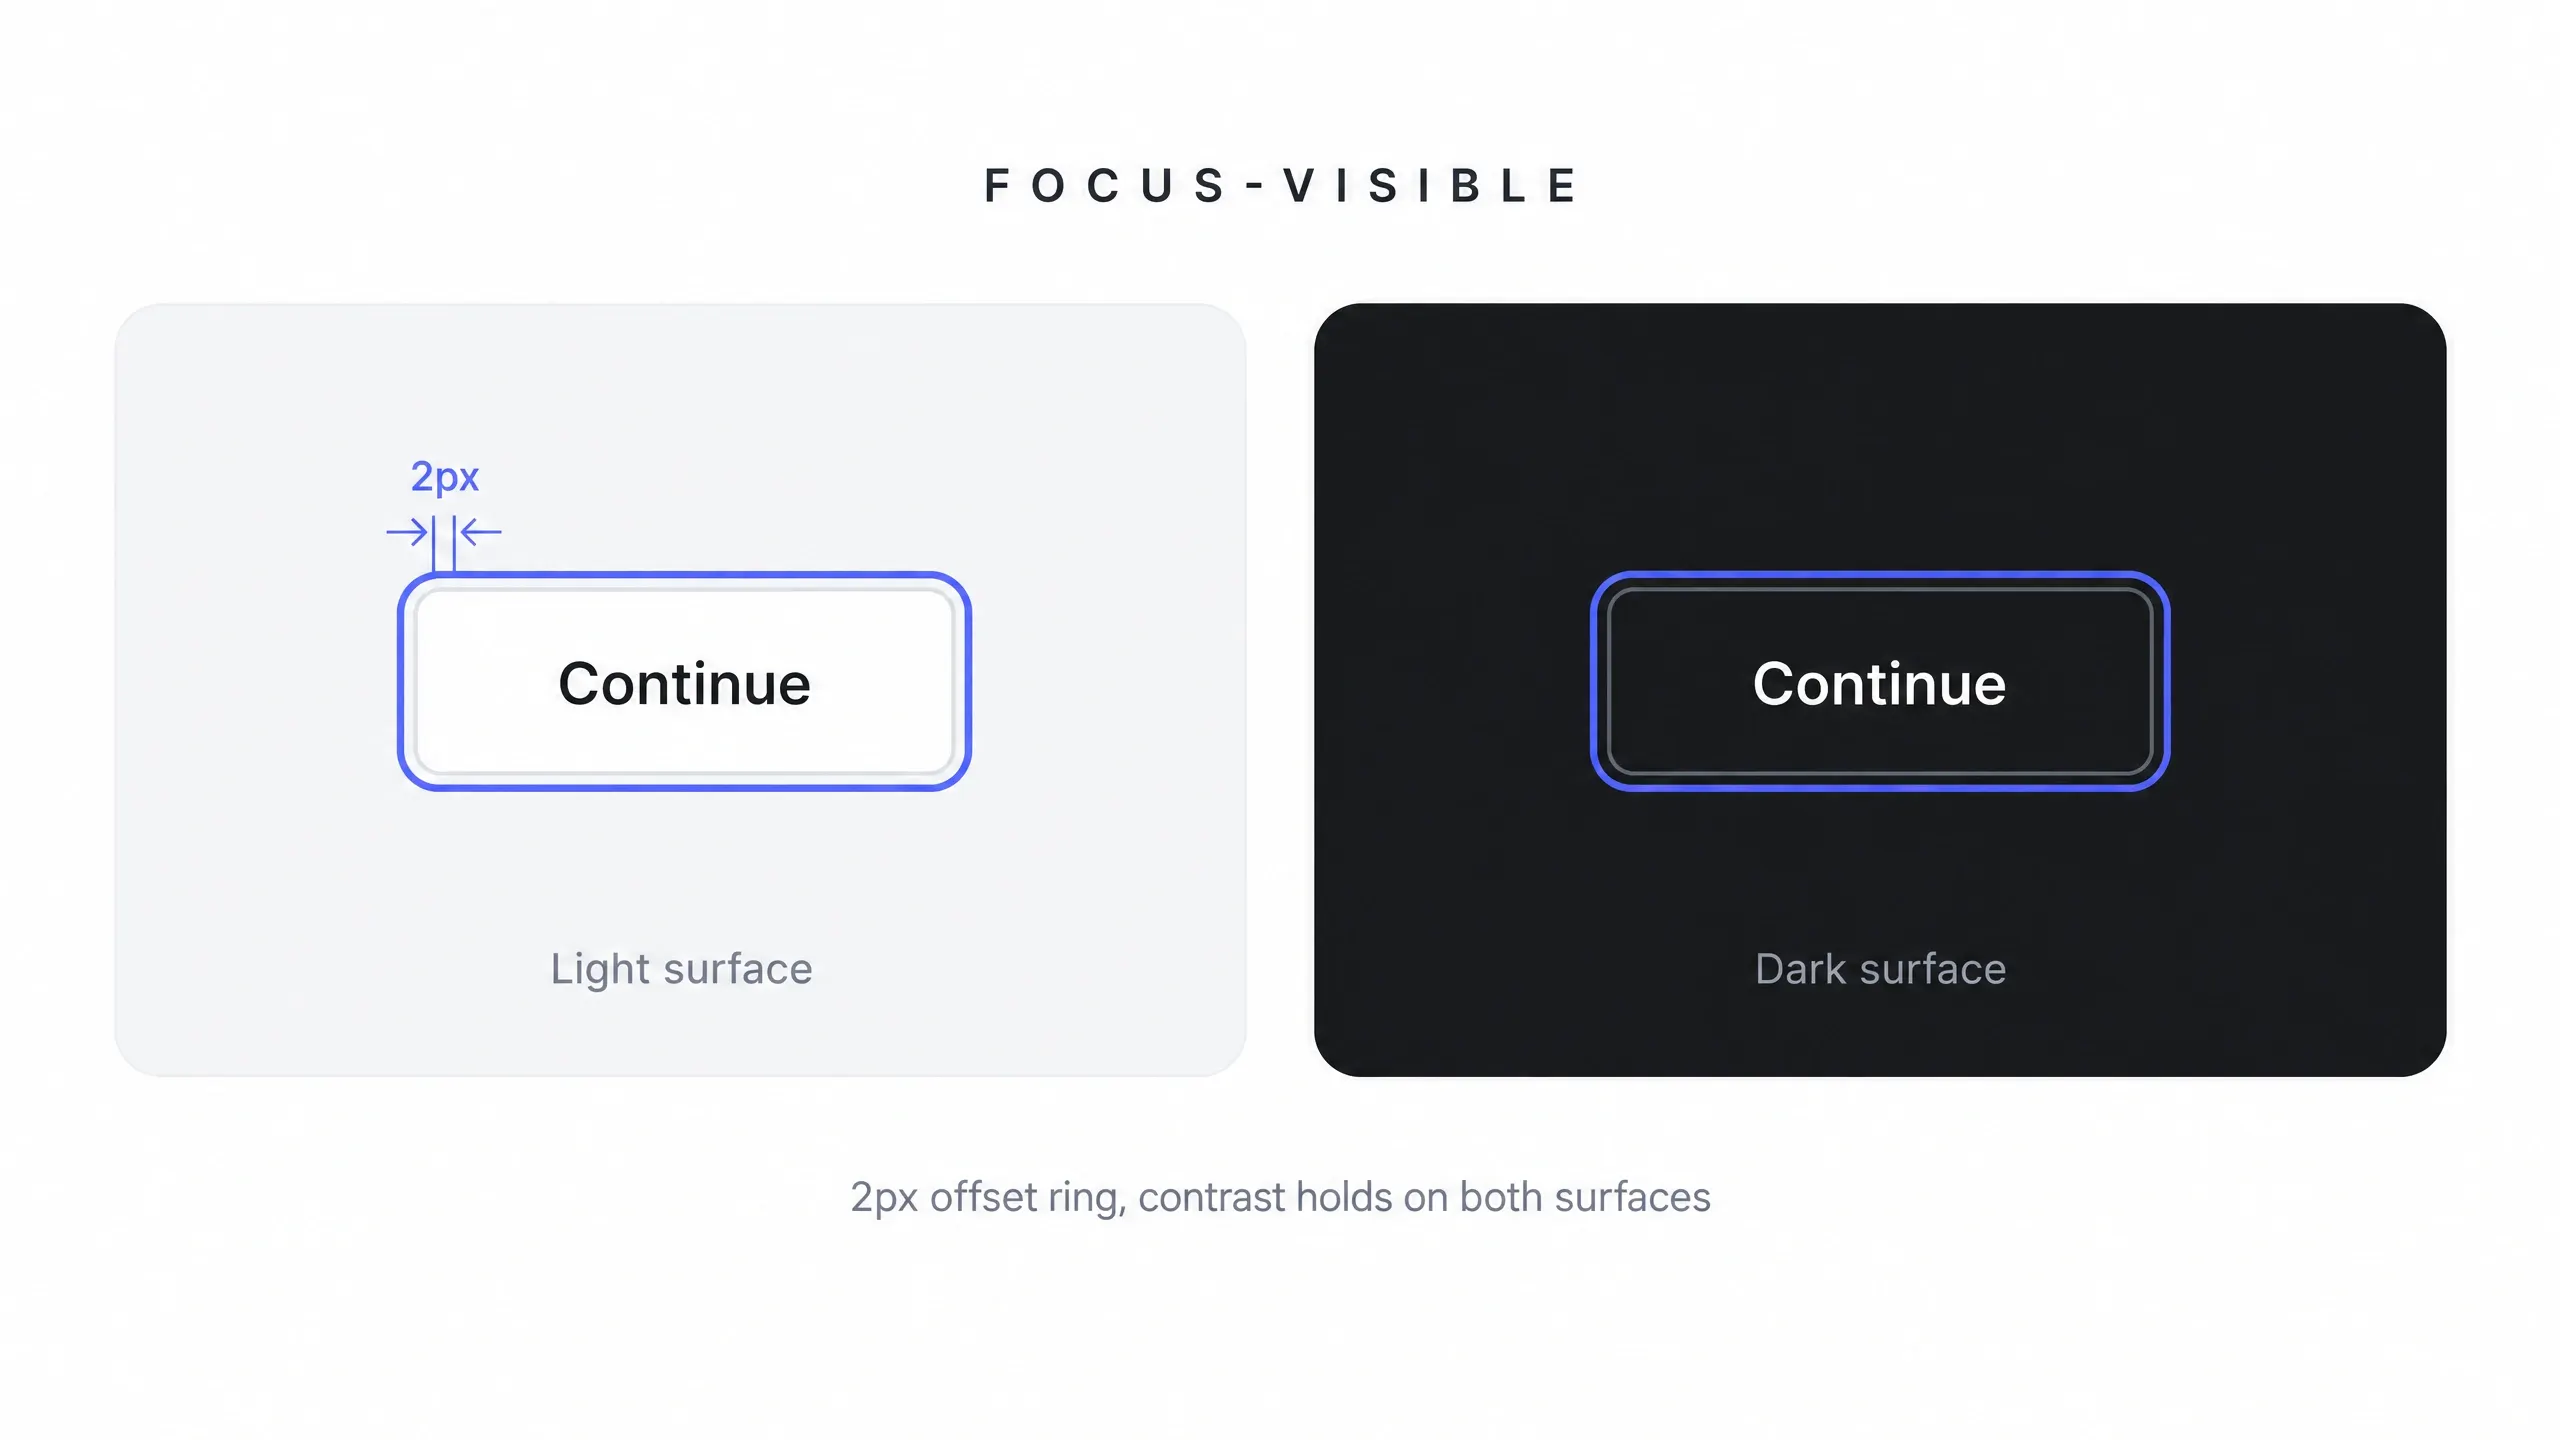
Buttons size

Variety of buttons by Panda Dashboards
The size of a button in UI design is important because it affects its usability and the overall experience. Using different sizes allows designers to emphasize different actions, guide users' attention, and create a better in-app flow.
-
Small buttons are often used to indicate actions that are secondary, as they are less visually prominent and easier to fit in a smaller area.
-
Medium buttons are the most commonly used button size. They are a good balance between visibility and space-saving, and are often used for default actions.
-
Large buttons to emphasize the importance of an action. They are more visible and eye-catching; great for drawing attention to a key activity.
-
XL buttons to draw max attention. They are the most visually prominent and are great for guiding users' sight and focus on what matters most for a business.
Loading state
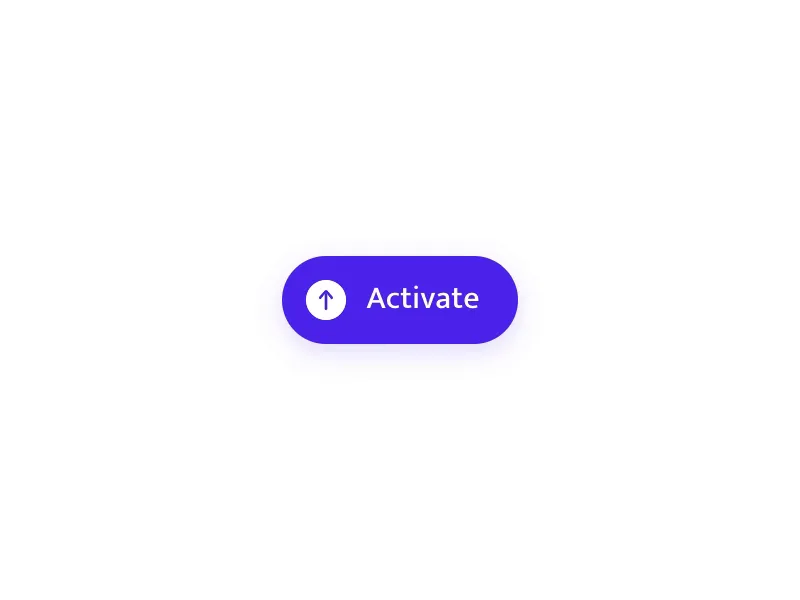
Activate Button by Aaron Iker
Using a loading icon for a Button in UI design is a convenient way to indicate that the action requested is being processed.
Loading state provides an indication that the app is working in response to the user's click and can prevent confusion. The user knows not to take any further action until the loading icon disappears.
It also adds a sense of progress and assurance that the request is being handled.
Split button
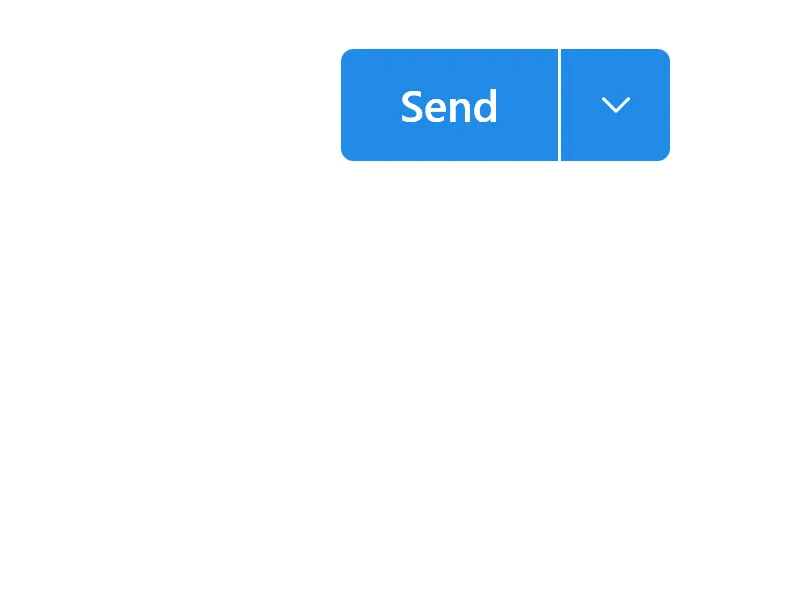
Split button by Mantine UI
Split button is the UI control utilized to offer two or more distinct actions within a single item. It combines the functionality of a button and a drop-down menu.
Split buttons are used in situations where a user needs to perform two, or more distinct tasks related to a single action, for example opening a file and then editing it. This type of component fits well when there are multiple actions that can be taken within a single control. When the menu opens a full panel instead, that is a dialog pattern, not a menu.
Button with Badge
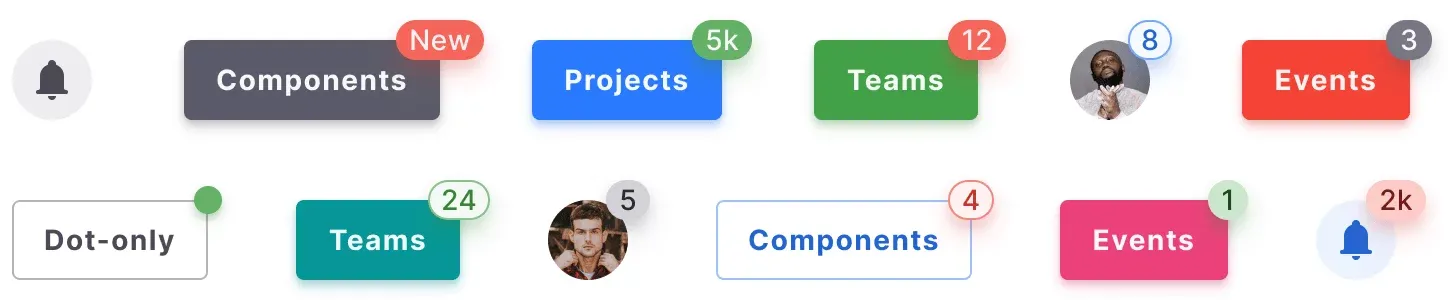
A notification badge placed over a button draws attention to an action or item that needs it. Use it to flag new events or available updates.
When a badge pops in, it clearly indicates that an action needs to be taken, and it encourages the user to take the necessary action.
Buttons priority
Primary and secondary buttons are often used together in app design to provide a visual hierarchy. By implementing such an approach, you help your users to quickly identify and understand which action is most important.
Primary buttons are used to indicate the main action the user should take. They are usually more prominent and colored differently to stand out.
Secondary buttons are used for less important functions, e.g "Cancel" or "Help." Placed together with primary, secondary buttons should be less visible to indicate their lower importance.
By varying background fill and border, primary and secondary buttons help users spot the most valuable action on a page or in an app.
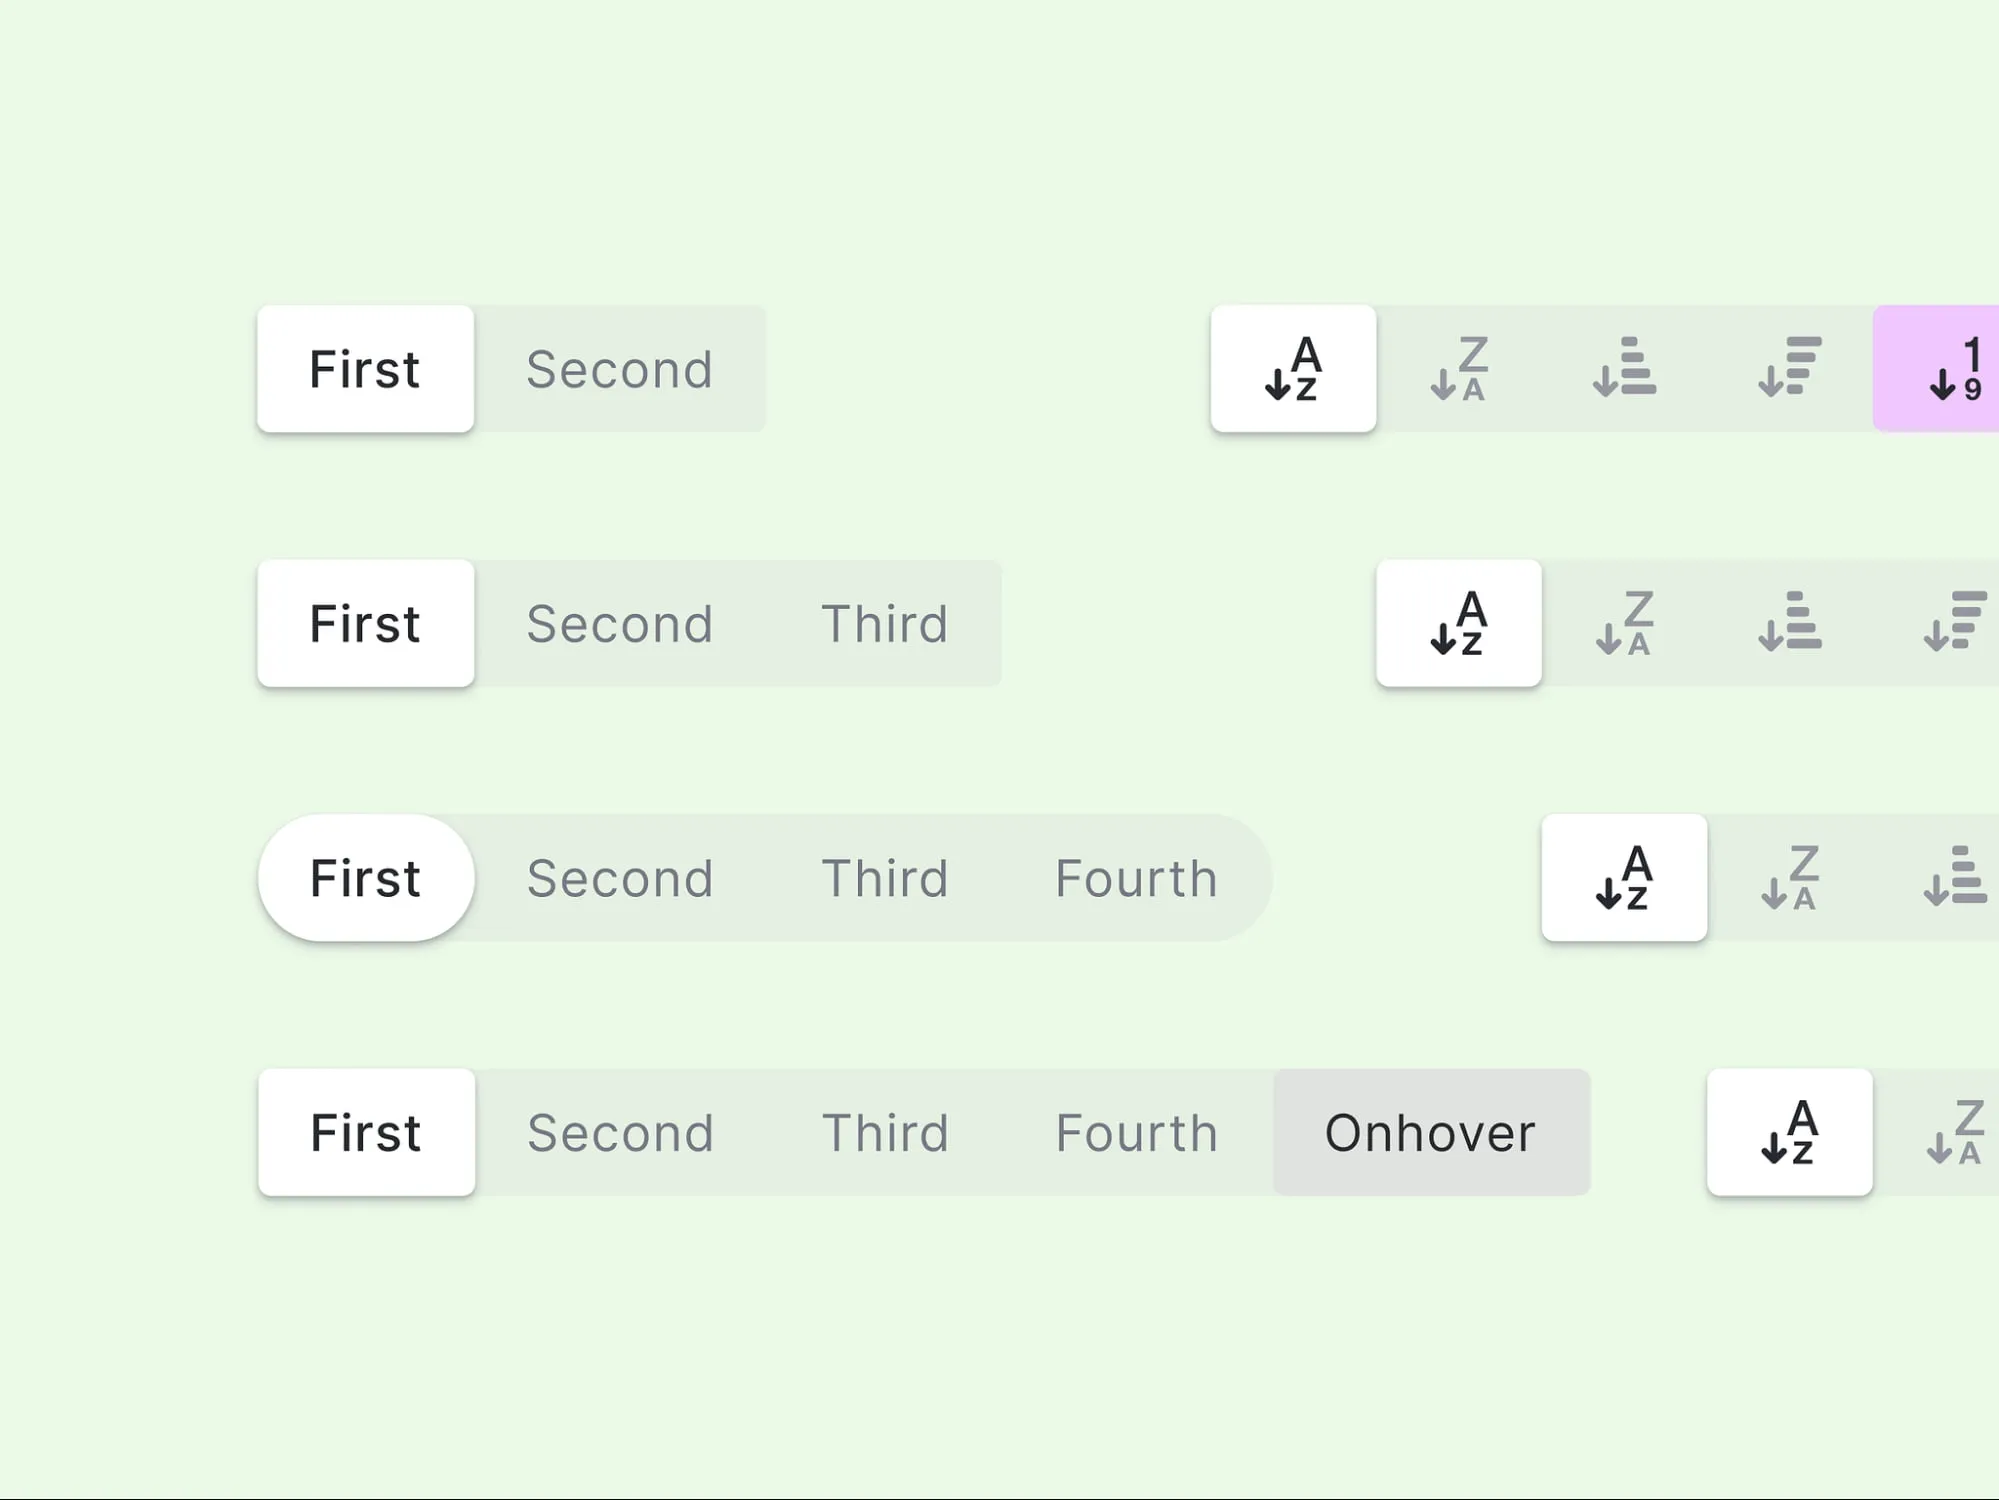
Button Group

Button Groups are used in UI design to compound related actions into one component. It gives users a way to easily switch between different conditions, and provides a visual indication of which option is currently active.
Button Groups are often used to group navigation controls, or to provide users with a way to switch between different modes, or filter anything within an app section.
A button group is its own component with its own rules, from dividers to a clear selected state. The button group guide covers those in detail.
Speed Dial
Speed Dial component in MUI
Speed Dial is a complex UI component used to quickly access commonly used app functions. Typically, it's a FAB with a list of predetermined and collapsed actions that appear when the button is tapped.
It gives fast access to frequent functions without walking the menu.
Anti-patterns
A few patterns look fine in a static mockup and fail in a real product.
-
Icon-only button with no label. If the icon is not universally known, add a tooltip or a visible label. A screen reader still needs an accessible name.
-
Removing the focus outline. Killing the outline for aesthetics locks keyboard users out of the control. Replace it with a visible style, do not delete it.
-
Disabled button with no reason. A greyed-out button that never explains why it is blocked leaves the user stuck. Show the missing field or the required step.
-
Loading state that shifts width. Swapping the label for a spinner resizes the button and the layout jumps. Reserve the width before the state changes.
-
Too many primary buttons. Two competing primary buttons on one screen dilute priority. Keep one primary action per section.
Frequently asked questions
❶ What is the difference between a button and a link?
A button triggers an action on the current page, while a link moves the user to another URL or an anchor. The semantics differ: <button> versus <a>, and that changes keyboard behavior and screen reader output. Pick the element by meaning, not by how it looks.
❷ How many buttons should be on one screen?
One primary button per section, with everything else secondary or tertiary. Several competing primary buttons dilute the hierarchy and slow the decision down. When actions multiply, group them or push the extra ones into a menu.
❸ What button size is accessible?
WCAG 2.2 sets a 24×24 CSS px minimum, and 44×44 is comfortable on touch screens. Button text needs at least 4.5:1 contrast. Small icon buttons need a larger hit area around the visible icon so the target still passes.
❹ Should disabled buttons be used at all?
Less often than most teams do. A blocked button does not explain the cause. It is usually better to keep the button active and show the error on press, or state what is missing next to it. When you must disable it, add a hint that says why.
❺ What states must every button have?
Idle, hover, focus, active, loading, disabled. Focus-visible is mandatory for keyboard users, and loading replaces the label with a spinner without shifting the width. A button missing any of these states feels unfinished.
❻ How do I handle buttons on mobile?
Raise the target to 44×44, keep the primary action away from the screen edge, and avoid hover-only hints. On narrow screens the primary action often moves into a sticky bar at the bottom, while secondary actions fold into a menu.
Checklist before you ship
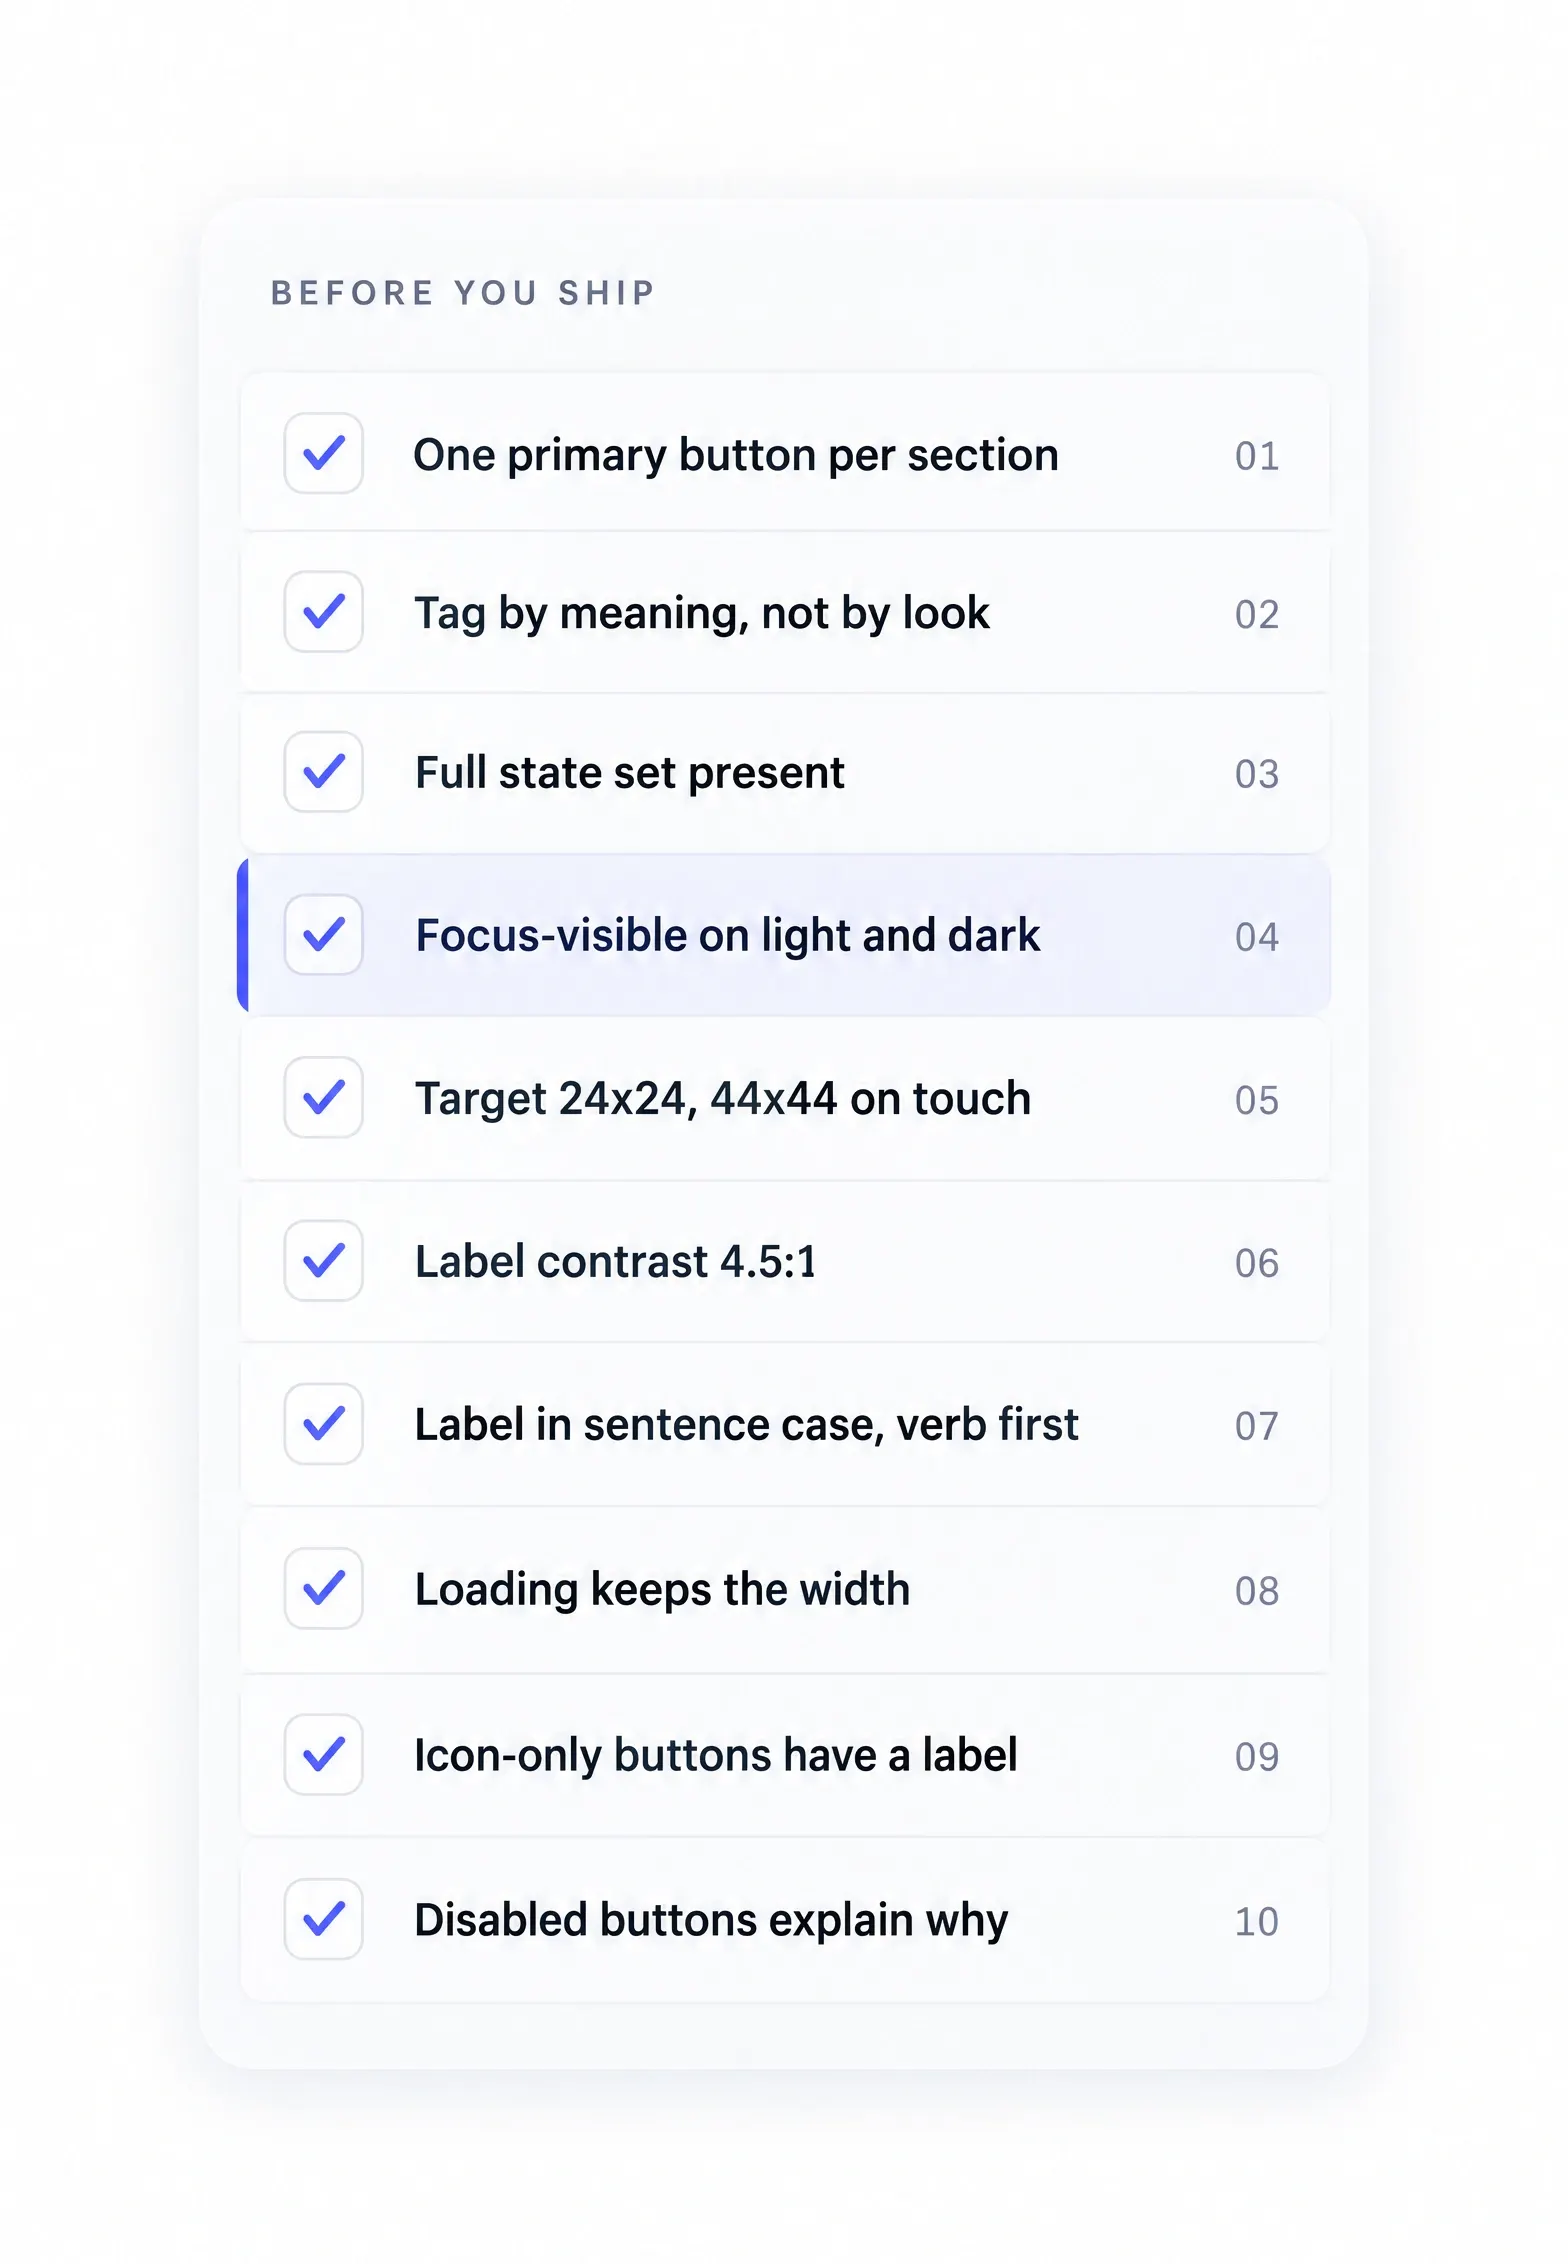
→ One primary button per section, the rest secondary or tertiary
→ Tag chosen by meaning: <button> for actions, <a> for navigation
→ Full state set present: idle, hover, focus, active, loading, disabled
→ Focus-visible reads on both light and dark backgrounds
→ Target size at least 24×24 px, 44×44 on touch
→ Label contrast at least 4.5:1
→ Label in sentence case, verb first, 1–3 words
→ Loading state does not shift the button width
→ Icon-only buttons carry an aria-label
→ A disabled button, if any, explains the reason
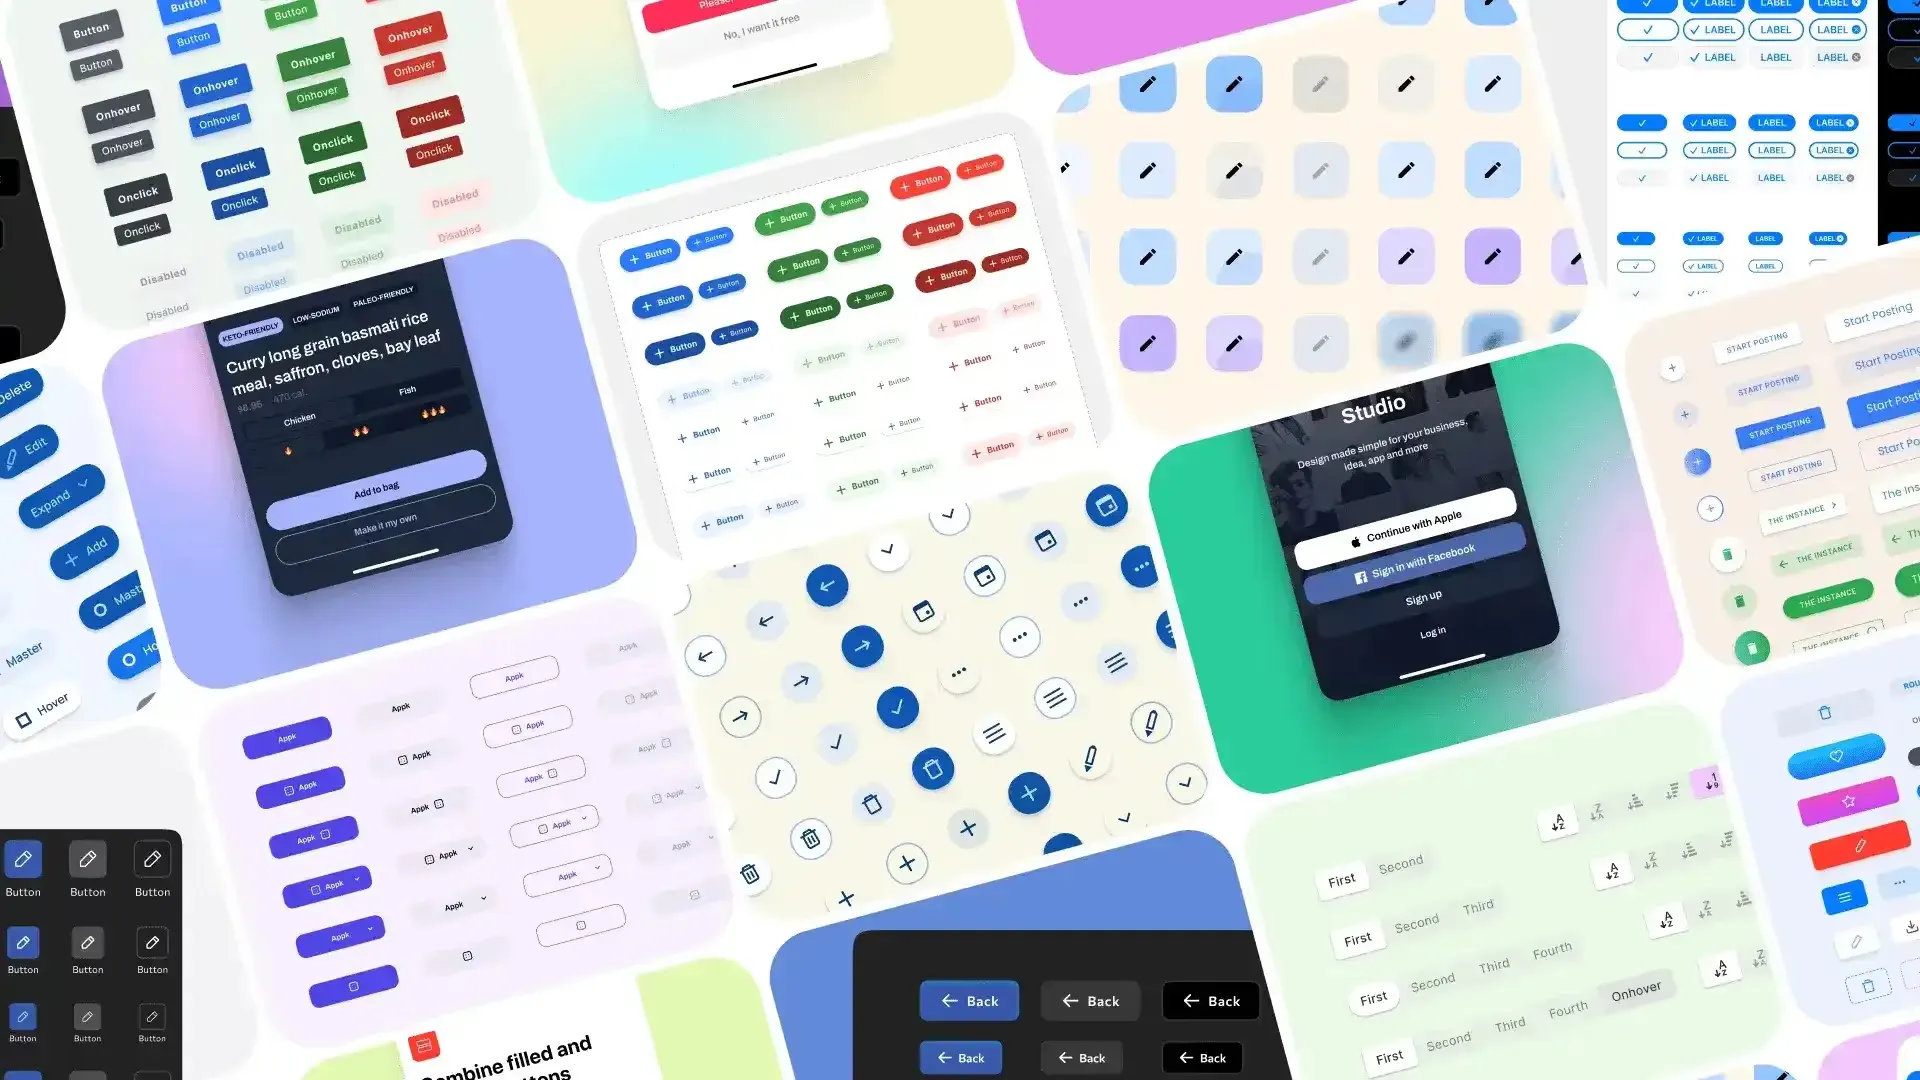
Button inspiration
Looking at how other teams solve the same problem is the fastest way to find what you are missing. Collect ten buttons you like before you draw your own, and note what each one does that yours does not. A strong gallery spans the types you just read about, in both themes. Use it as a reference, not a mood board.
When I need that gallery fast, I open the Setproduct button gallery. It gathers buttons from real products in both light and dark themes, so you can compare how other teams draw the same control. Ten minutes there beats an hour of guessing at a blank artboard.
Closing thought
A button looks simple and carries a lot of weight. Get the control choice right, cover the full state set, and respect the WCAG minimums, and the rest of the interface feels calmer. Start with the decision table above, then run the checklist before you ship.